Infrared Thermometer Instruction Manual: Special advice should be given to people using infrared thermometers, the Medicines and Healthcare products Regulatory Agency has recommended.
Infrared thermometers appear to be associated with a risk of low readings if they are not used properly. They are designed to measure heat radiated from the forehead.
Another potential source of error in readings is a dirty lens on the thermometer. The FDA says that users should ensure the lens is kept clean. When an accurate reading is essential, it recommends using the highest of three readings.
The new guidance follows a number of reports of infrared thermometers falsely reassuring parents of children with high temperatures. Temperature readings appeared to be normal but subsequent readings taken on admission to hospital showed readings between 1C and 3C higher than those measured with the infrared thermometer.
The FDA adds that infrared thermometers should always be used in accordance with the manufacturers’ instructions and that users should seek medical attention if they have health concerns, regardless of the thermometer reading.
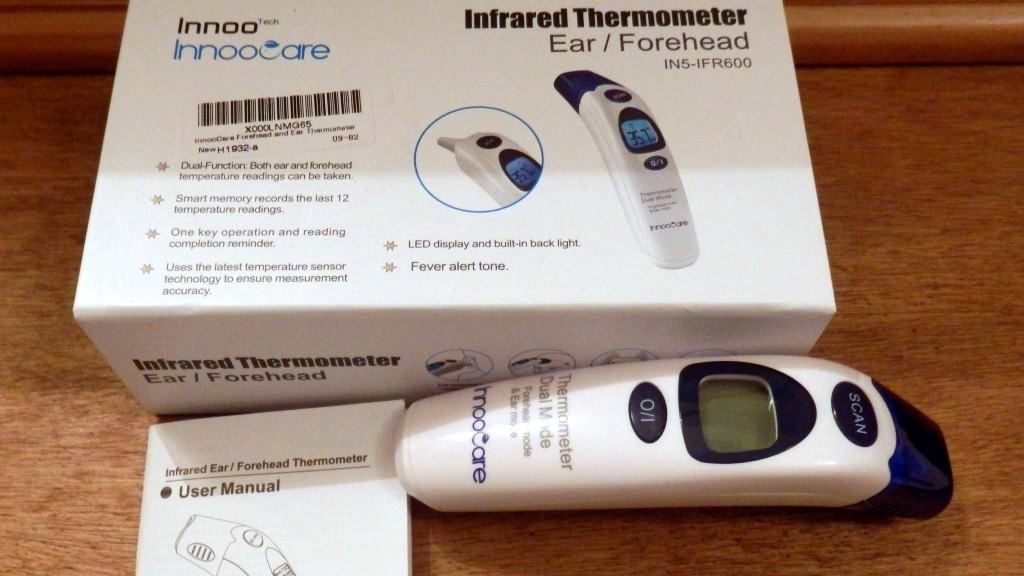
Non-contact infrared thermometer
Instruction manual
Compact, rugged, and easy to use. Just aim and push the button, read current surface temperatures in less than a second. Safely measure surface temperatures of hot, hazardous, or hard to reach objects without contact.
How it works: Infrared thermometer measures the surface temperature of an object. The unit’s optics sense emitted, reflected, and transmitted energy which is collect and focused onto a detector. The unit’s electronics transmitted energy which is display on the unit. For increased ease and accuracy the laser pointer makes aiming even more precise.
Infrared thermometer instructions
The infrared thermometer instruction manual, an infrared thermometer should be protected for the following:
- Infrared thermometer precautions
- EMF (electromagnetic fields) from arc welders, induction heaters.
- Thermal shock(cause by large or abrupt ambient temperature changes allow 1 hour for unit to stabilize before use).
- Do not leave the unit on or near objects of high temperature.
- Dangers of infrared thermometer
- Do not point laser at eye or indirectly off reflective surfaces.
- When taking measurement, point thermometer toward the object to be measured and hold the yellow trigger. The object under test should be large than the spot size calculated by the field of view diagram.
- Distance and spot size: As the distance from the object increase, the spot size of the measuring area becomes large.
- Field of view: Make sure the target is larger than the unit’s spot size. The smaller target the close measure distance. When accuracy is critical, make sure the target is at least twice as large as the spot size.
- Emissivity: Most organic materials and painted or oxidized surfaces have an emissivity of 0.95. Inaccurate readings will result from measuring shiny or polished metal surfaces.
To compensate, cover the surface to be measured with masking tape or flat black paint. Measure the tape or painted surface when the tape or painted reach the same temperature as the material underneath.
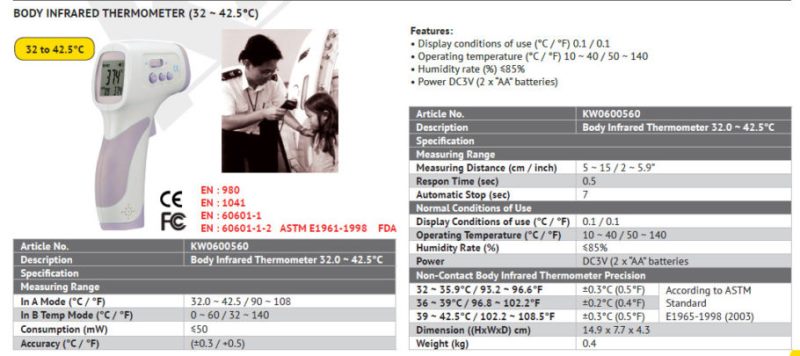
Infrared thermometer how to start
- Remove the silica gel set, remove the battery cover screw with a screwdriver, and then slide out the battery door, install battery correctly.
And Put back to the battery door screws and silica gel.
Pull the trigger, LCD display reading, and battery icon.
Release the trigger and the reading will hold for 30 seconds.
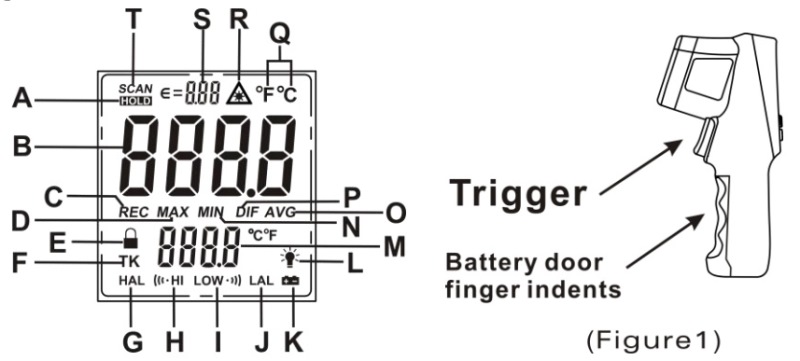
- Infrared thermometer display:
- A: Data Hold
- B: Main display value
- C: Memory storage
- D: Maximum
- E: Continuous measurement
- F: K type temperature symbol (this unit Without this feature)
- G: High-temperature alarm temperature
- H: Alarm of high temperature prompt
- I: Alarm of Low temperature prompt
- J: Low-temperature alarm temperature
- K: Battery voltage Low
- L: Backlight symbol
- M: Additional features
- N: Minimum
- O: Average
- P: The maximum and the minimum difference
- Q: Temperature of the unit
- R: Laser pointer turn on prompt
- S: Emissivity symbol
- T: Measuring the symbol
- Locating a hot spot aim the thermometer outside the area of interest, then scan across with up and down motions until you locate the hot spot, please turn on the laser to for accurate measuring.
- Infrared thermometer maintenance
- Lens cleaning: Blow off loose particles using clean compressed air. Gently brush remaining debris away with a moist cotton cloth.
- Case cleaning: Clean the case with a damp sponge/cloth and mild soap.
- Please take out the battery when not using it for a long time.
Note:
1) Do not use a solvent to clean the lens.
2) Do not submerge the unit in water.
3) Emissivity will back to the initial value (0.95) after replacing the battery,. Should adjust again when used
The most read
Medical Grade Thermometer
What type of thermometer is the most accurate?
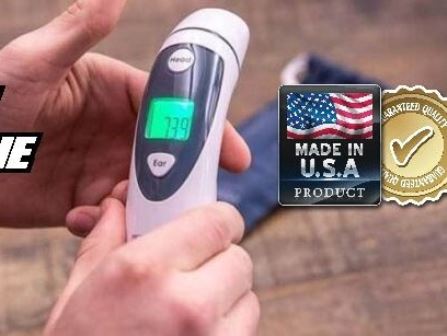
Infrared Thermometer made in USA
What are the Top 10 Thermometers made in the USA in 2020? What is the best-infrared thermometer?
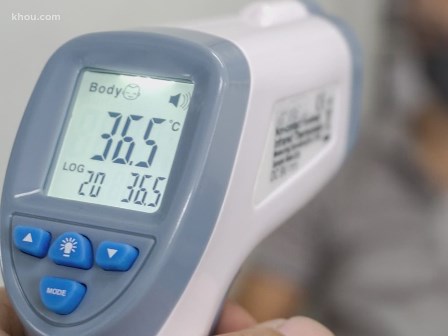
How to set Infrared Thermometer?
Setting a digital thermometer is easy and can be accomplished by following these simple steps.
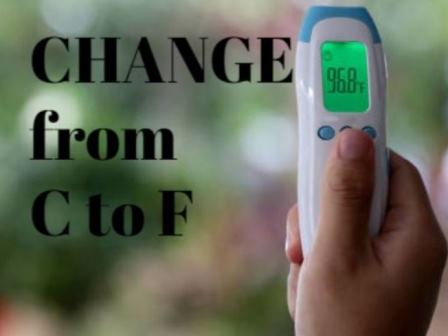
How to change digital Thermometer from Celsius to Fahrenheit?
If you live in the United States, Fahrenheit readings might be more useful than Celsius.
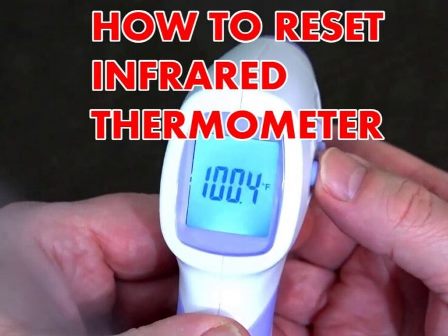
How to reset the Infrared Thermometer?
A digital infrared thermometer should always return accurate readings.
